Vaporizer Cleaning & Maintenance: Keep Your Device Like New
Step-by-step guide for mouthpiece, chamber, screens and exterior
Clean vaporizers taste better, last longer and perform more efficiently. After each session, blow through the mouthpiece and brush out the chamber. Once a week, soak all removable parts in isopropyl alcohol (99%). Once a month, do a thorough deep clean with pipe cleaners, cotton swabs and brushes. Never let water get into the electronics, and never use acetone or nail polish remover.
Why Regular Cleaning Matters
Residue builds up after every use: resin clogs the screens, condensed vapor narrows the airpath, and stale flavors settle in the mouthpiece. The consequences are real. First, taste suffers – instead of fresh terpenes you get burnt resin. Second, performance drops because blocked screens choke the airflow and the oven heats unevenly. Third, poor maintenance shortens the lifespan: resin attacks O-rings, screens corrode, and the battery works harder because the heating element fights against blocked airways. Someone who cleans their Mighty+ or Crafty+ regularly still has a device that performs like day one after two years. Skip the maintenance and you will notice the difference within weeks.
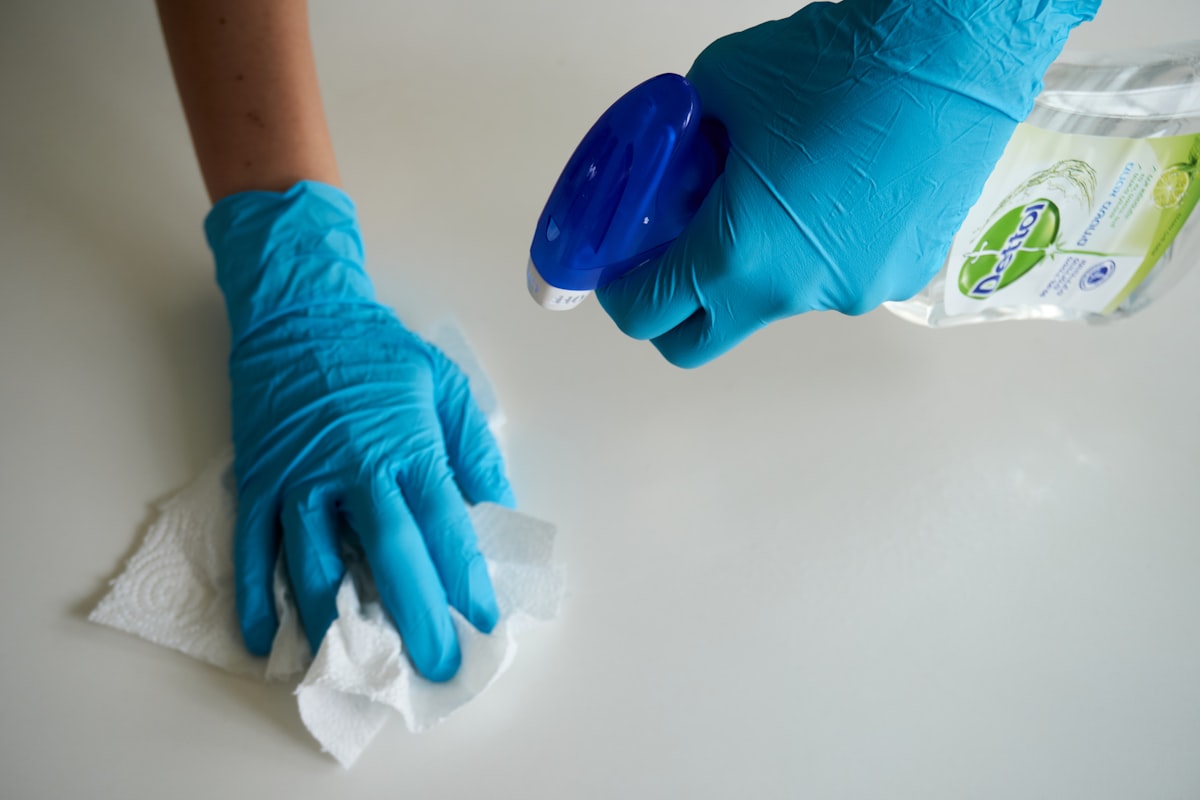
Cleaning Supplies: What You Need
The basics fit in a drawer. Isopropyl alcohol (ISO 99%) is the standard solvent – it dissolves resin reliably and evaporates without residue. Do not go below 90% concentration. Cotton swabs (the pointed electronics type works best) reach tight spots in the vapor path. Pipe cleaners with wire core and cotton wrapping are perfect for tubular mouthpieces and hose connections. A small brush (most manufacturers include one) loosens chamber residue. Add a ziplock bag for soaking small parts and a soft microfiber cloth for the housing. For extra convenience: the Storz & Bickel Cleaning Kit (about 15 EUR) includes brushes, ISO caps and spare O-rings made specifically for the Mighty, Crafty and Volcano. DynaVap offers Dynawax (about 8 EUR) as a conditioning wax for wooden stems and O-rings.
Step-by-Step Cleaning Guide
1. Mouthpiece & Vapor Path
The mouthpiece collects the most condensation. On the Mighty+ and Crafty+, remove the cooling unit lid, take out the sealing rings and place all plastic parts in a bag with ISO 99%. Let them soak for 20 minutes, then pull a pipe cleaner through. Work on stubborn spots with a cotton swab dipped in ISO. Glass mouthpieces (Arizer Solo, Tinymight) usually just need an ISO soak. Pro tip: keep the dissolved resin in the ISO – once the alcohol evaporates, usable reclaim is left behind.
2. Chamber / Oven Cleaning
The chamber is the core of your device. While still warm (not hot!), sweep it out with the included brush or an old toothbrush – warm residue comes off easier than cold. Then dampen a cotton swab with a small amount of ISO and wipe down the chamber. On convection devices (Tinymight, Firefly), make sure no alcohol drips into the heating element. On conduction ovens (PAX, DaVinci), move the swab in circular motions along the oven walls. Follow up with a dry swab and run an empty heat cycle to evaporate any remaining ISO.
3. Screens & Filters
Screens clog fastest and noticeably restrict airflow. Soak fine stainless steel screens (Mighty+, Crafty+) in ISO for 30 minutes, then scrub them under warm water with a brush. If the screen is still dark brown after cleaning, replace it – spares cost about 0.50 EUR each. Dosing capsules should be soaked regularly too. On the Mighty dosing capsule bridge, keep the small passages clear with a toothpick. Ceramic filters (like the Tinymight) handle ISO well but must dry completely before reinserting.
4. Housing & Exterior
Wipe the housing with a slightly damp microfiber cloth. No ISO on painted or rubberized surfaces – alcohol damages the coating. Wooden vaporizers (DynaVap with wood stem, Sticky Brick) should be treated with Dynawax or a drop of linseed oil. Stainless steel bodies (DynaVap M) handle ISO without issues. Clear dust from the charging port with compressed air. Lightly grease hose connections and O-rings with food-grade silicone lubricant to keep them supple and airtight.
How Often to Clean: The 3-Tier System
After every session (30 seconds): Tap the chamber empty, run the brush through once, blow through the mouthpiece. This prevents residue from setting. Weekly (10 minutes): Disassemble the mouthpiece, soak small parts in ISO, check screens, wipe the chamber with a cotton swab. Daily users should do this every 5-7 days at most. Monthly (30 minutes): Full cleaning of all parts. Inspect O-rings and replace if worn. Swap screens that cleaning can no longer restore. Clean the housing, oil wooden parts, grease seals. After this routine the device performs like it just came out of the box.
Material-Specific Care Tips
Glass (Arizer stems, bong attachments): Soaking in ISO 99% dissolves virtually everything. For stubborn resin, add a teaspoon of coarse salt and shake – the salt acts as an abrasive. Do not use brushes with metal bristles; they scratch the inside.
Stainless Steel (DynaVap bodies, screens, dosing capsules): Extremely tough. ISO, hot water, ultrasonic cleaner – all fine. Torch DynaVap tips briefly to burn off stubborn residue, let cool, then follow up with ISO.
Ceramic (Tinymight filters, chamber inserts): Ceramic is porous and absorbs liquid. After ISO cleaning, let it dry for at least an hour, preferably overnight. Never submerge ceramic heating elements – cleaning applies only to ceramic filters and inserts.
Wood (DynaVap stems, Sticky Brick, Dreamwood): Wood and ISO do not mix well – alcohol dries the wood out and can cause cracking. Instead, pull a dry pipe cleaner through and condition regularly with Dynawax or beeswax. Wipe stains with a slightly damp cloth.
Silicone (hoses, mouthpieces, seals): Silicone is heat-resistant and chemical-resistant. Still, do not soak silicone parts in ISO for more than an hour or they may swell. Better: clean in hot water with a drop of dish soap. Discolored silicone tubing rarely comes fully clean – replace when in doubt.
The 5 Most Common Cleaning Mistakes
1. Water in the electronics. The classic mistake. While cleaning the oven, ISO or water drips into the internals and damages the circuit board. Always dampen cotton swabs lightly, never soak them. Hold the device upside down while cleaning so nothing runs downward. 2. Wrong solvent. Acetone, nail polish remover or cleaning benzine attack plastic and rubber. Only use ISO 90-99% or dedicated vaporizer cleaner. 3. Water too hot for plastic. Boiling water warps the Mighty+ cooling unit and other plastic parts. Use water no hotter than 60 °C. 4. Replacing screens too late. A clogged screen forces you to draw harder, ruining session quality. Swap in a new screen every 3-4 weeks – they cost next to nothing. 5. Forgetting O-rings. Brittle O-rings cause leaks and reduce vapor density. Always check them during the monthly cleaning and treat with silicone grease or replace as needed.
Top 10: Best Vaporizer Cleaning Accessories 2026
This gear keeps your vaporizer in Peak condition. From pro-grade solutions to everyday helpers – here are the 10 most useful cleaning products.
FAQ
Quick brush after every session (30 seconds). Once a week, soak the mouthpiece and screens in ISO (10 minutes). Once a month, do a full deep clean (30 minutes). If you vape daily, do the weekly clean every 5 days instead.
ISO at 70% works but leaves more water behind and dries slower. For vaporizers, 90-99% is much better because less moisture gets into the device and resin dissolves faster.
That is dissolved resin (reclaim). Pour the ISO into a shallow dish and let it evaporate in a well-ventilated area. The residue left behind can be used in edibles or vaporized on a screen.
Almost always a clogged screen in the cooling unit. Remove the screen, soak it in ISO or replace it with a new one. That alone usually restores full airflow.
The stainless steel body and tip – absolutely. Remove the wooden stem and O-rings first. Wood swells in water, and O-rings can be damaged by the vibrations.
Last updated: 03.03.2026