Butane Vaporizer Cleaning & Maintenance — DynaVap, Sticky Brick, Vapman
Butane vaporizers are mechanically simple, but they’re not maintenance-free. Resin, plant residue and condensate build up in airways, screens and chambers over time. The result: bad flavor, restricted airflow and, in the worst case, unsanitary conditions. In this guide, I’ll show you how to keep your DynaVap, Sticky Brick and Vapman properly clean — with concrete steps, the right supplies and common mistakes to avoid.
Why Clean Regularly?
After a few sessions, every vaporizer develops a dark, sticky film. That’s condensate from the vaporized plant compounds. Four reasons to stay on top of it:
- Flavor: Fresh material only tastes the way it should when the vapor path is clean. Old residue creeps into every session otherwise.
- Airflow: Clogged condensers, blocked screens and sticky channels make drawing a chore. With devices like the DynaVap, you’ll notice immediately.
- Hygiene: Moisture plus organic residue is a breeding ground for bacteria and mold — especially in wooden devices like the Sticky Brick.
- Lifespan: Well-maintained O-rings last years. Neglected ones crack, become brittle and need constant replacement. Screens and glass parts also last longer when you clean them regularly.
What You Need
The basic kit is manageable and cheap:
| Material | Purpose | Notes |
|---|---|---|
| Isopropyl alcohol (99%) | Soaking metal parts, glass | Not ethanol, not acetone |
| Cotton swabs (Q-Tips) | Channels, openings, detail work | The ones with a firm core work best |
| Pipe cleaners | Condenser, long channels | Flexible, ideal for tight tubes |
| Small brush | Brushing out chambers | Toothbrush or stiff-bristle paintbrush |
| Paper towels | Drying, work surface | Absorbent, lint-free |
| Optional: DynaWax / O-ring grease | O-ring care | Extends lifespan significantly |
| Optional: small jar with lid | Soaking | A jam jar works fine |
You can get isopropyl alcohol at any pharmacy or online. Go for the 99% version — lower concentrations contain more water and dissolve resin less effectively.
DynaVap Cleaning — Step by Step
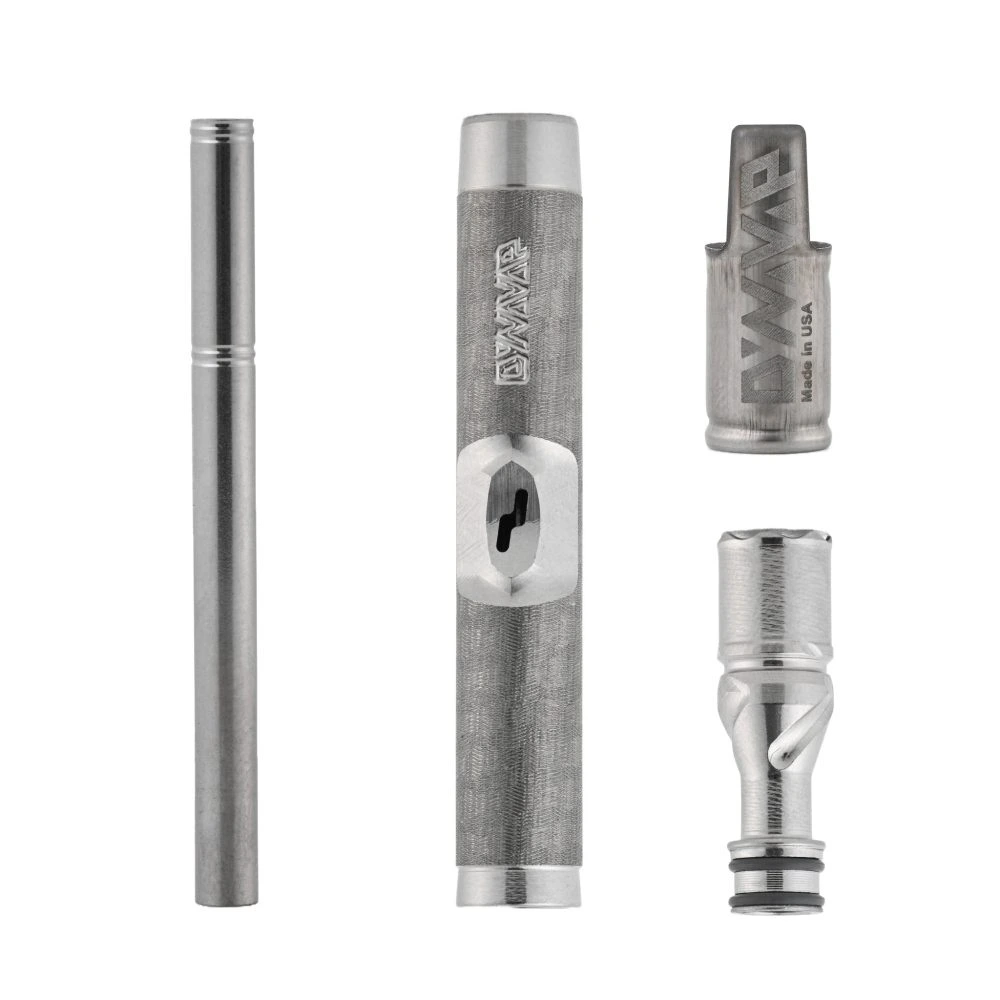
The DynaVap is the easiest butane device to clean. All parts can be disassembled, and nearly everything is metal.
1. Disassemble
Take the DynaVap fully apart:
- Pull off the cap
- Unscrew the tip (on M models) or pull it out
- Slide the condenser out of the body
- Carefully roll off the O-rings (fingernail or blunt tool, no knife)
Set the O-rings aside separately. They don’t go into the isopropyl bath.
2. Soak the Metal Parts
Place the tip, condenser and body in a small jar with isopropyl alcohol. 15 to 30 minutes is enough for normal buildup. For heavy crusting, you can wait up to an hour. Gentle swirling speeds things up.
3. Scrub and Rinse
After soaking:
- Push a pipe cleaner through the condenser — multiple times, until it comes out clean
- Wipe the inside of the tip with a cotton swab
- Brush the CCD screen (inside the tip) with the small brush
- Rinse all parts under warm water
- Dry everything thoroughly with paper towels
4. O-Ring Care
The O-rings are the most delicate part of the DynaVap. Here’s how to treat them right:
- Wipe them with a slightly dampened cloth (no pure ISO — that dries them out)
- Check for cracks, deformation or hardening
- Apply a thin layer of DynaWax or food-grade O-ring grease
- Carefully slide them back into position
Replace O-rings every 3 to 6 months depending on usage. DynaVap sells replacement kits for under 5 EUR.
5. The Cap — Handle with Care
Clean the cap mostly from the outside and inside with a cotton swab. A quick dip in ISO is fine, but don’t leave it soaking for hours. The bimetallic discs inside are sensitive to aggressive chemicals.
Reassemble
Put the DynaVap back together in reverse order. Check that the condenser sits smoothly and the O-rings haven’t shifted.
Sticky Brick Cleaning
Sticky Bricks are wooden devices with glass vapor paths. That makes cleaning a bit trickier, because wood and alcohol don’t get along.
Wood Parts: No Alcohol
This is the most important rule for the Sticky Brick: Never use isopropyl alcohol on the wood. ISO seeps into the pores, dries the wood out and can cause cracks. Instead:
- Brush out the chamber with a dry brush
- Wipe surfaces with a dry or barely damp cloth
- For stubborn residue in the chamber: carefully scrape with a wooden or plastic tool
Glass Parts — Soak Away
The glass intakes and mouthpieces can safely go into isopropyl alcohol:
- Soak for 15 to 30 minutes
- Push a pipe cleaner through
- Rinse under warm water
- Let them dry completely before reinserting
Replace Screens
The small stainless steel screens in the Sticky Brick clog up over time. You have two options:
- Replace: New screens cost next to nothing. Just push the old one out, press a new one in.
- Flame clean: Hold the screen with tweezers over a lighter flame until the residue burns off. Then dip briefly in ISO and let it dry.
Flame Intake
Clean the channel where the flame meets the material with an ISO-soaked cotton swab. Twist it a few times, pull it out, repeat with a fresh one. Two to three passes usually does it.
Vapman Cleaning
The Vapman is a Swiss precision device with a wooden body and copper chamber. Small, elegant — and surprisingly low-maintenance because the chamber is so tiny that less residue accumulates.
Wooden Body
Same rule as the Sticky Brick: no alcohol on wood. Wipe the body only with a dry, soft cloth. The Vapman has a treated surface that can be damaged by solvents.
Copper Chamber
Clean the copper chamber with an ISO-soaked cotton swab. Don’t soak it — just wipe it out. Copper reacts poorly to prolonged contact with alcohol and can tarnish. Two or three passes with fresh Q-Tips until no dark residue is visible.
Screen
The screen in the Vapman is small and needs occasional replacement. Vapman offers replacement screens. You can also flame-clean it (like with the Sticky Brick), but at that size, swapping is usually easier.
Less Effort Overall
Thanks to the small chamber and the minimal amount of material per session, the Vapman stays cleaner longer than larger devices. A quick clean every 10 to 15 sessions is usually enough.
How Often Should You Clean?
Cleaning frequency depends on your usage:
| Usage | Recommended Frequency | Minimum Action |
|---|---|---|
| Daily (2+ sessions) | Every 5 sessions | Brush out chamber, push through condenser |
| Several times a week | Weekly | Full disassembly and ISO cleaning |
| Occasionally | Every 2-4 weeks | Deep clean with soaking |
| Rarely | Check before each use | Quick inspection for buildup |
Bare minimum: Clean every device thoroughly once a month, even with light use. Standing condensate gets thicker and harder to remove over time.
Common Mistakes
I see these mistakes all the time — and they’re easy to avoid:
Using isopropyl alcohol on wood. The most common mistake with Sticky Brick and Vapman. The wood absorbs the alcohol, dries out and develops cracks. In the worst case, it swells and warps.
Forgetting the O-rings. Many people toss the O-rings into the ISO bath or forget to grease them after cleaning. Both shorten their lifespan considerably.
Scrubbing too aggressively. Coated surfaces (like the DynaVap Phantom finish or colored models) can’t handle steel wool or harsh brushes. Stick with soft brushes and cotton swabs.
Not drying completely. Moisture in reassembled devices leads to corrosion on metal parts and mold risk on wood. Better to wait an extra 30 minutes.
Using screens for too long. A clogged screen eventually can’t be cleaned anymore. Swap screens out when they’re still discolored or blocked after cleaning.
Conclusion
Butane vaporizers need less maintenance than electronic devices, but zero care isn’t an option either. With isopropyl alcohol, a few cotton swabs and five minutes of your time, you can keep your DynaVap, Sticky Brick or Vapman in top shape. The effort is minimal, but the difference in flavor and performance is noticeable.
You can find current prices and availability for all mentioned devices in the vaporizer price comparison on vapochecker.com.